
Hardwood Floors vs. Vinyl Floors: The Best Choice for New Homeowners in North Jersey
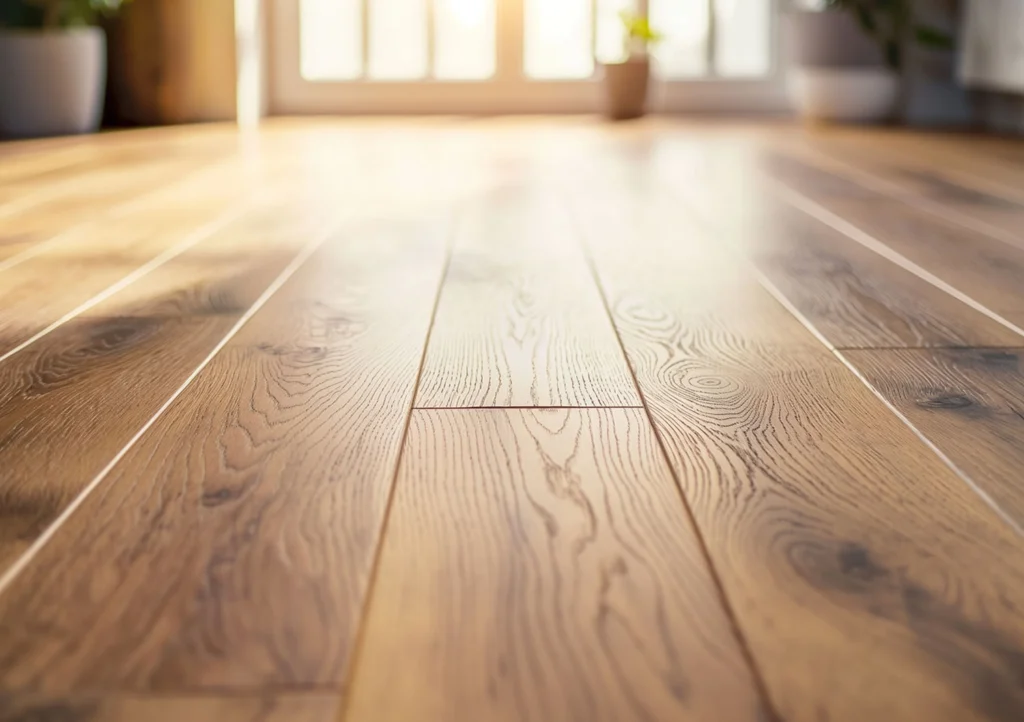
Choosing the Right Flooring for Your New Home When you buy a new home, one of your first design decisions is choosing the right flooring. Two of today’s most popular choices are hardwood and vinyl, both offering style, durability, and versatility At Floors by Val, we’ve helped hundreds of homeowners across North New Jersey and Bergen County compare flooring types and choose the best fit for their lifestyle and budget. Whether you’re deciding to install new hardwood, lay down vinyl flooring, or refinish existing hardwood floors, this guide will help you make an informed choice. 1. Appearance and Style Hardwood Flooring Real hardwood offers a timeless look that never goes out of style. Each plank has unique grain patterns and warm tones that bring depth and natural beauty to your home. The best part? Hardwood can be refinished multiple times, allowing you to change its color or sheen as your style evolves. Vinyl Flooring Today’s luxury vinyl plank (LVP) and luxury vinyl tile (LVT) options are designed to look and feel like real wood. They come in countless finishes and textures, making them perfect for modern interiors. Vinyl is ideal for homeowners who want a stylish, wood-like look without the higher price tag. 2. Durability and Maintenance Hardwood Floors Hardwood is durable and long-lasting but requires care to prevent scratches and water damage. Regular sweeping and refinishing every few years can keep your floors looking brand new for decades. With the right maintenance, hardwood can last a lifetime. Vinyl Floors Vinyl is known for its toughness and water resistance, making it perfect for bathrooms, basements, and kitchens. It’s easy to clean — a quick sweep and an occasional mop are all you need. For families or pet owners, vinyl offers peace of mind and long-term practicality. 3. Cost and Installation Hardwood InstallationInstalling new hardwood floors adds lasting beauty and increases home value, but it’s generally more expensive upfront. The long-term return on investment, however, makes it worth considering for those who plan to stay in their homes for many years. Vinyl InstallationVinyl flooring is budget-friendly and installs quickly. Many vinyl products feature click-lock systems that reduce installation time and labor costs, making them an excellent option for first-time homeowners or quick renovations. Hardwood Refinishing — The Affordable AlternativeIf your new home already has hardwood floors, refinishing is often the smartest and most affordable solution. Instead of replacing old floors with new wood or vinyl, Floors by Val can sand, repair, and refinish your existing hardwood to look brand new.You can even change the color or finish to match your updated home design — all at a fraction of the cost of new installation. 4. Comfort and Feel HardwoodHardwood feels solid, warm, and authentic underfoot — perfect for living rooms, dining areas, and bedrooms. It adds luxury and elegance that never fades. VinylVinyl floors are slightly cushioned, offering comfort and noise reduction. This makes them ideal for multi-level homes or spaces with lots of activity. 5. Environmental Considerations HardwoodWhen responsibly sourced, hardwood is a renewable, eco-friendly option. Because it can be refinished instead of replaced, it creates less waste and has a smaller long-term footprint. VinylModern vinyl flooring options are made using low-VOC materials and are often recyclable. Be sure to ask about sustainable vinyl brands when choosing your flooring. Which Option Is Right for You? 💡 Choose Hardwood if you value long-term durability, natural beauty, and refinishing potential. 💰 Choose Vinyl if you need affordability, moisture resistance, and easy maintenance. 🔄 Choose Refinishing if your home already has hardwood floors — it’s the most cost-effective way to revive your floors and enhance your home’s look. Your Local Flooring Experts in Bergen County, NJ At Floors by Val, we specialize in: ✅ Hardwood installation and refinishing✅ Vinyl floor installation✅ Concrete repair and epoxy flooring✅ Interior floor preparation and painting Serving North New Jersey, Bergen County, and surrounding areas, our team delivers Quality Beyond Measure on every project. Want It Done Right the First Time? At Floors by Val, we’ve built a reputation for delivering “Quality Beyond Measure” in Bergen County and across North New Jersey. Let’s bring your basement —and your entire space, to life. Get An Estimate (201) 299-6020 More Articles
How to Level a Basement Floor | Floors by Val – North Jersey Experts
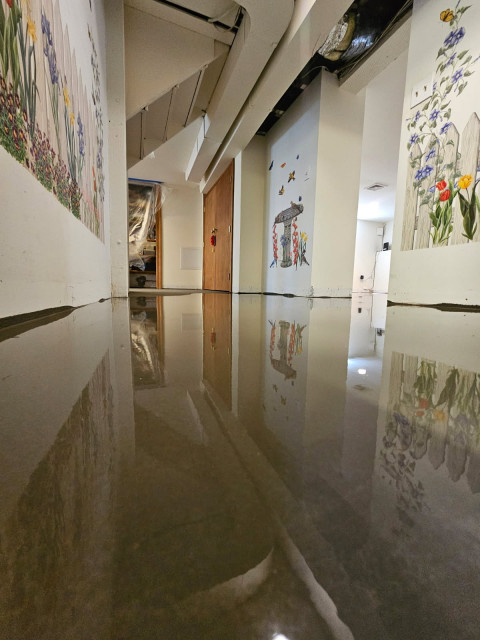
Floors by Val shares how to correctly level your basement floor in North NJ. Step-by-step DIY guide, tools, and tips from your local flooring and epoxy pros in Bergen County. How to Correctly Level a Basement Floor (DIY Guide from Floors by Val) Whether you’re finishing your basement, installing new flooring, or preparing for an epoxy coating, leveling the floor is a must. At Floors by Val, we’ve helped hundreds of North New Jersey homeowners turn uneven basement slabs into smooth, flawless surfaces—and today we’re sharing how you can do it too. Why Leveling Your Basement Floor Matters An uneven basement floor can lead to: Improper flooring installation Water pooling and drainage issues Cracked tiles or lifting vinyl A less polished finish overall If you want to install flooring, lay epoxy, or just upgrade your basement’s appearance, leveling is step one. Tools & Materials You’ll Need to get the job done right, gather: Long level or laser level Chalk or pencil Broom or shop vacuum Concrete grinder or scarifier Crack filler or patch compound Self-leveling compound Compatible primer Mixing bucket & paddle Gauge rake or squeegee Protective gear (gloves, goggles, dust mask) Step-by-Step: How to Level a Basement Floor ✅ Step 1: Inspect the Floor Use a long level or laser level to check for: Dips or depressions Raised areas or humps General slope Mark low and high areas so you know where to grind and where to fill. ✅ Step 2: Clean the Surface A clean, dust-free surface ensures proper bonding. Sweep and vacuum thoroughly Remove adhesives or paint Fill cracks with concrete patch Let repairs cure fully ✅ Step 3: Grind Down High Spots Using a concrete grinder, shave off any high areas. Always wear safety gear Use a straightedge or level to guide your work Vacuum the dust once finished This helps save on self-leveling material and creates a flatter foundation. ✅ Step 4: Apply Primer Most self-leveling compounds require a primer. Apply with a roller or brush Allow to dry completely (check product label) Don’t skip this—it’s crucial for proper adhesion! ✅ Step 5: Mix & Pour the Leveling Compound Follow the mixing directions exactly. Mix with a paddle for a smooth consistency Pour into the lowest spots first Spread evenly using a gauge rake or trowel Use a spiked roller to remove air bubbles Work quickly—most products set within 10–15 minutes. ✅ Step 6: Allow It to Cure Curing is key for durability. Let the surface cure 24–48 hours Keep the room warm and dry Avoid walking on it too soon Now your basement floor is smooth, solid, and ready for flooring or epoxy! Bonus Tips from the Pros at Floors by Val Use a moisture barrier if your basement is humid or prone to dampness Apply multiple layers if needed—but always let each layer fully cure Call a professional if your slope is extreme or you notice structural issues Want It Done Right the First Time? At Floors by Val, we’ve built a reputation for delivering “Quality Beyond Measure” in Bergen County and across North New Jersey. Let’s bring your basement —and your entire space, to life. Get An Estimate (201) 299-6020 More Articles