Tell Us About Your Project
Project DetailsHow to Level a Basement Floor | Floors by Val – North Jersey Experts

✅ How to Level a Basement Floor | Floors by Val – North Jersey Experts
Floors by Val shares how to correctly level your basement floor in North NJ. Step-by-step DIY guide, tools, and tips from your local flooring and epoxy pros in Bergen County.
How to Correctly Level a Basement Floor (DIY Guide from Floors by Val)
Whether you're finishing your basement, installing new flooring, or preparing for an epoxy coating, leveling the floor is a must. At Floors by Val, we’ve helped hundreds of North New Jersey homeowners turn uneven basement slabs into smooth, flawless surfaces—and today we’re sharing how you can do it too.
Why Leveling Your Basement Floor Matters
An uneven basement floor can lead to:
- Improper flooring installation
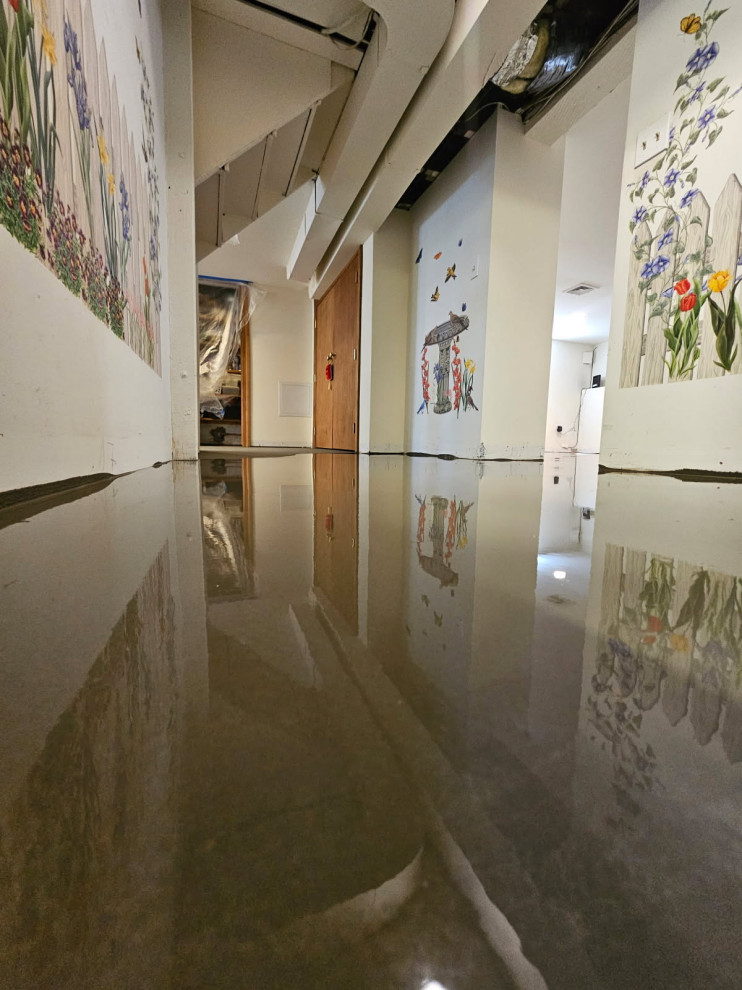
- Water pooling and drainage issues
- Cracked tiles or lifting vinyl
- A less polished finish overall
If you want to install flooring, lay epoxy, or just upgrade your basement’s appearance, leveling is step one.
Tools & Materials You'll Need to get the job done right, gather:
- Long level or laser level
- Chalk or pencil
- Broom or shop vacuum
- Concrete grinder or scarifier
- Crack filler or patch compound
- Self-leveling compound
- Compatible primer
- Mixing bucket & paddle
- Gauge rake or squeegee
- Protective gear (gloves, goggles, dust mask)
Step-by-Step: How to Level a Basement Floor
✅ Step 1: Inspect the Floor
Use a long level or laser level to check for:
- Dips or depressions
- Raised areas or humps
- General slope
Mark low and high areas so you know where to grind and where to fill.
✅ Step 2: Clean the Surface
A clean, dust-free surface ensures proper bonding.
- Sweep and vacuum thoroughly
- Remove adhesives or paint
- Fill cracks with concrete patch
- Let repairs cure fully
✅ Step 3: Grind Down High Spots
Using a concrete grinder, shave off any high areas.
- Always wear safety gear
- Use a straightedge or level to guide your work
- Vacuum the dust once finished
This helps save on self-leveling material and creates a flatter foundation.
✅ Step 4: Apply Primer
Most self-leveling compounds require a primer.
- Apply with a roller or brush
- Allow to dry completely (check product label)
- Don’t skip this—it's crucial for proper adhesion!
✅ Step 5: Mix & Pour the Leveling Compound
Follow the mixing directions exactly.
- Mix with a paddle for a smooth consistency
- Pour into the lowest spots first
- Spread evenly using a gauge rake or trowel
- Use a spiked roller to remove air bubbles
Work quickly—most products set within 10–15 minutes.
✅ Step 6: Allow It to Cure
Curing is key for durability.
- Let the surface cure 24–48 hours
- Keep the room warm and dry
- Avoid walking on it too soon
Now your basement floor is smooth, solid, and ready for flooring or epoxy!
Bonus Tips from the Pros at Floors by Val
- Use a moisture barrier if your basement is humid or prone to dampness
- Apply multiple layers if needed—but always let each layer fully cure
- Call a professional if your slope is extreme or you notice structural issues
Want It Done Right the First Time?
At Floors by Val, we’ve built a reputation for delivering “Quality Beyond Measure” in Bergen County and across North New Jersey. We specialize in:
- Epoxy flooring
- Concrete repair
- All types of indoor flooring installations
- Residential & commercial painting services
📞 Call us today at 201-299-6020 or 💬 Send a message through www.floorsbyval.com to schedule your free estimate!
Let’s bring your basement—and your entire space—to life.
